
A reliable quotation starts with a precise brief
For sandwich panels, answering only “how many square metres?” is not enough. Roof or wall use, internal temperature and humidity, support spacing, wind exposure, colour, coating, panel lengths, junction details and site access can all change the order. When these points are missing, prices may look comparable even though the proposed products and scopes are not.
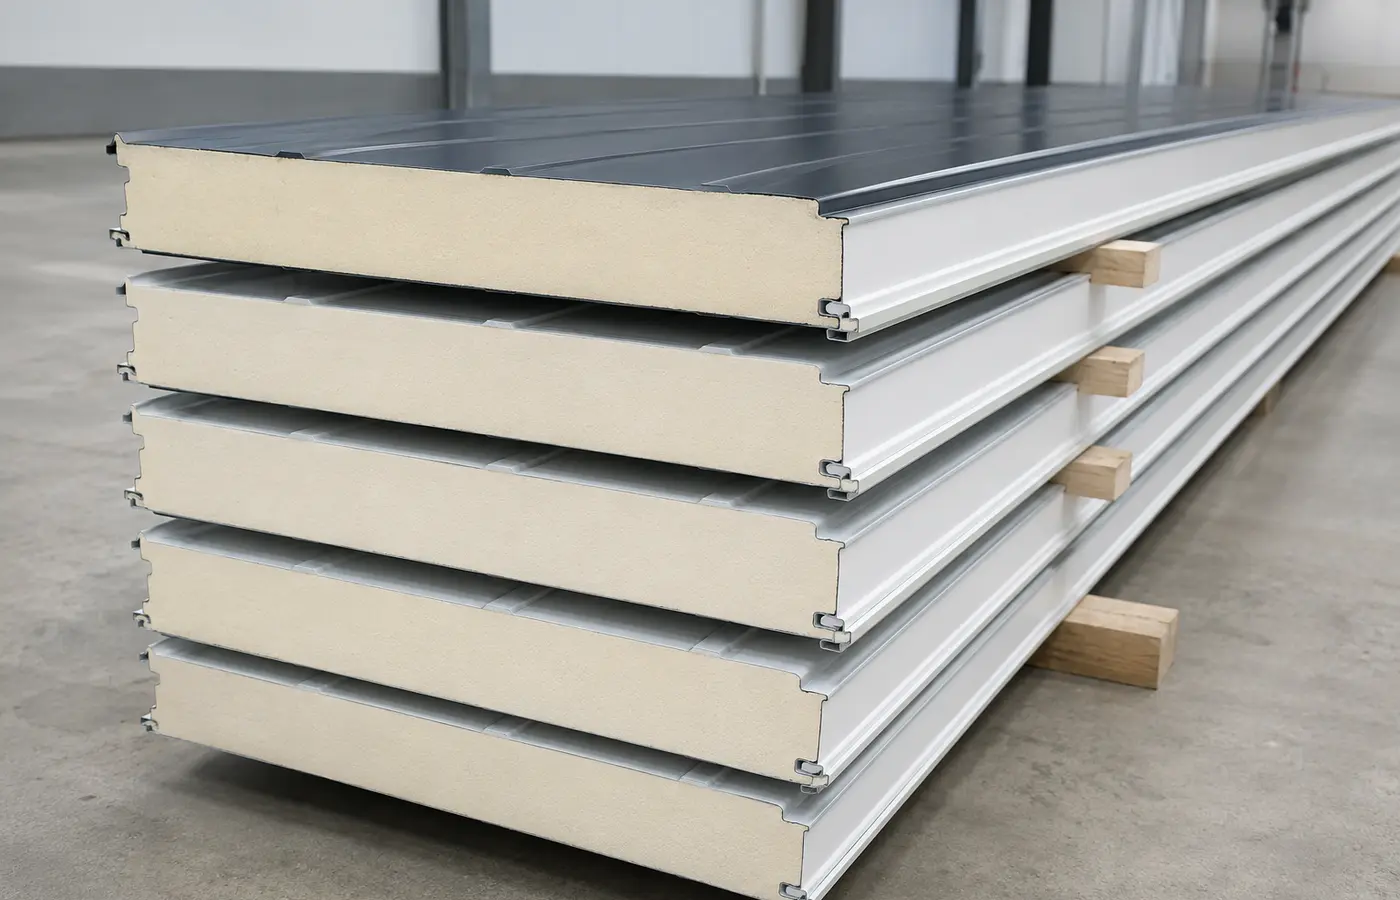
A sandwich panel works as a system: two metal facings, an insulation core, joint geometry, fasteners, seals and formed accessories. Assess it as part of the complete building envelope, not as an isolated sheet. This checklist helps you ask the right questions at the first meeting and reduce late additions.
1. Define the application and required performance
State whether the panel is for a roof, external wall, internal partition, ceiling or temperature-controlled space. The building use changes the requirements for thermal insulation, fire performance, airtightness, watertightness, acoustics, hygiene and surface durability. A humid production room, for example, may not need the same internal and external coatings as an exposed façade.
Do not rely on the core name alone. Request the manufacturer's technical data sheet, declaration of performance and any project-required certificates for the exact product offered. Panel thickness or core type by itself does not guarantee every performance value; results depend on the complete product, joints and installation. Fire, structural and special insulation requirements should be documented by the responsible engineer and fire consultant before ordering.
2. Convert the area into a panel length and quantity schedule
The total area is useful, but production and delivery require panel lengths and piece counts. For roofs, record ridge, eaves, slope direction, any end-lap decision and rooflight openings. For walls, include corners, doors, windows and panel orientation. An installation drawing showing the start and finish of every panel on each grid line reduces cutting errors.
The longest possible panel is not always the best solution. Consider vehicle length, turning space, unloading equipment, crane reach, wind during lifting and safe movement on the roof. Set waste from the actual cutting plan instead of adding an arbitrary percentage. List every different length separately with its quantity and location.
3. Verify the support structure before ordering
Purlin or rail spacing, bearing width, alignment and level all affect installation. Manufacturer guides require the support steelwork to be within project tolerances, plumb and true. A panel should not be forced to correct a misaligned frame; joints may fail to close and the surface may distort.
Panel span, fastener quantity and fastener pattern depend on wind and snow loads, building height, edge and corner zones, support arrangement and the capacity of the selected product. These are engineering decisions, not stockroom rules of thumb. For structural and safety-critical dimensions, use the project engineer's calculations and the panel manufacturer's current load tables.
4. Select the coating, colour and coastal exposure together
The inner and outer facing coatings must suit the corrosivity of their environments. In coastal locations such as Kuşadası, tell the supplier about salt-laden air, prevailing winds, persistent humidity, chemical vapours and cleaning routines. Ask for the exact coating name and the manufacturer's stated application range in writing; a colour code alone is not a coating specification.
Dark colours can reach higher temperatures in sunlight and increase surface movement. Review colour together with panel length, orientation, fastening details and the manufacturer's colour limitations. Confirm colour against a physical sample and current colour chart, not a screen image. Do not assume a service life or warranty period; check scope, maintenance conditions and exclusions in the quotation.
5. Include every flashing and sealing component
Ridges, eaves, corners, parapets, sills, drips, openings and panel ends need compatible formed flashings. Screws, washers, caps, sealing tapes, sealants and fillers must match the panel system and detail. Mixing unrelated components can weaken air and water seals.
Show flashing material, girth, length, quantity, colour and installation location separately in the quotation. Mark joint direction and the direction of prevailing rain on the installation drawing. Under-driving a fastener may compromise sealing; over-driving can dent the facing and reduce connection capacity. Follow the product guide for fastener type, drill point, pattern and driver setting.
6. Plan transport, unloading and storage
Confirm the vehicle size that can reach the site, road and gate widths, turning space and who is responsible for unloading. Do not lift packs with narrow ropes or chains that may deform the panels; use the sling width and lifting method specified by the manufacturer. Never drag panels. Record pack quantities and visible transport damage when the delivery arrives.
Store packs on a firm, inclined base that allows water to drain and air to circulate. Outdoors, protect them from rain, direct sun and dirt while preventing condensation inside the pack. Re-cover opened packs at the end of the day and follow the manufacturer for longer storage. Never assume that packs may be stacked on top of one another.
7. Put installation quality and safety in the scope
Where practical, cut panels in a safe ground-level area with the saw or shears recommended by the manufacturer. Abrasive-wheel cutting can throw hot particles onto the coating and create corrosion points. Remove swarf immediately, peel protective film within the specified time and inspect the continuity of sealing tapes and sealants as work progresses.
The site plan must cover wind limits for lifting, fall protection, safe access, personal protective equipment and exclusion zones. A large panel can become uncontrollable in strong wind. Nobody should stand beneath a suspended panel, and the crew must follow both the manufacturer's installation guide and the site safety plan.
Information to send in one quotation request
Send the following with a sketch or installation drawing, and ask for every uncertain item to be confirmed as included or excluded.
- Project location, building use and roof, wall or internal-partition application
- Each panel length, quantity, orientation and grid location as well as total area
- Support spacing, bearing details, roof pitch and project design loads
- Required thermal, fire, acoustic, hygiene and sealing performance
- Core, thickness, inner and outer coatings, colour and documentation
- Flashing schedule for ridges, eaves, corners and openings
- Fasteners, tapes, sealants and other installation consumables
- Delivery address, vehicle access, unloading equipment and installer responsibility
- Lead time, packaging, damage inspection, warranty and maintenance documents